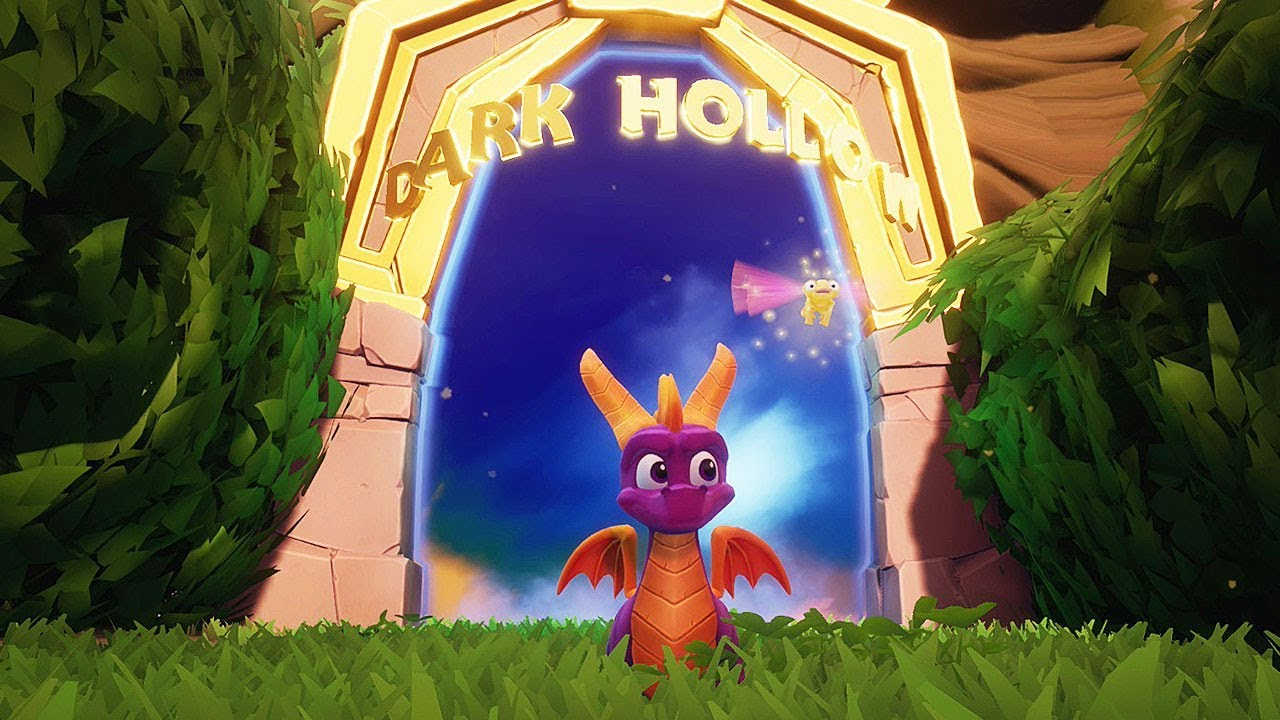
Spyro was one of my favourite series as a kid. I’ve played the original trilogy more times than I care to admit, and even as an adult I still find the vivid environments and gameplay loop captivating. One tiny detail I always liked was that the innards of each portal look like the sky of the level that portal leads to, and when Spyro flies through the portal there’s a seamless transition into the portal. In Spyro the Dragon, the first entry in the series, the game even has titular hero Spyro fly in a loop-de-loop to obscure the new level as it seamlessly loads in below. Today, we will recreate the appearance of Spyro’s portals in Unity.
Skyboxes and Cubemaps
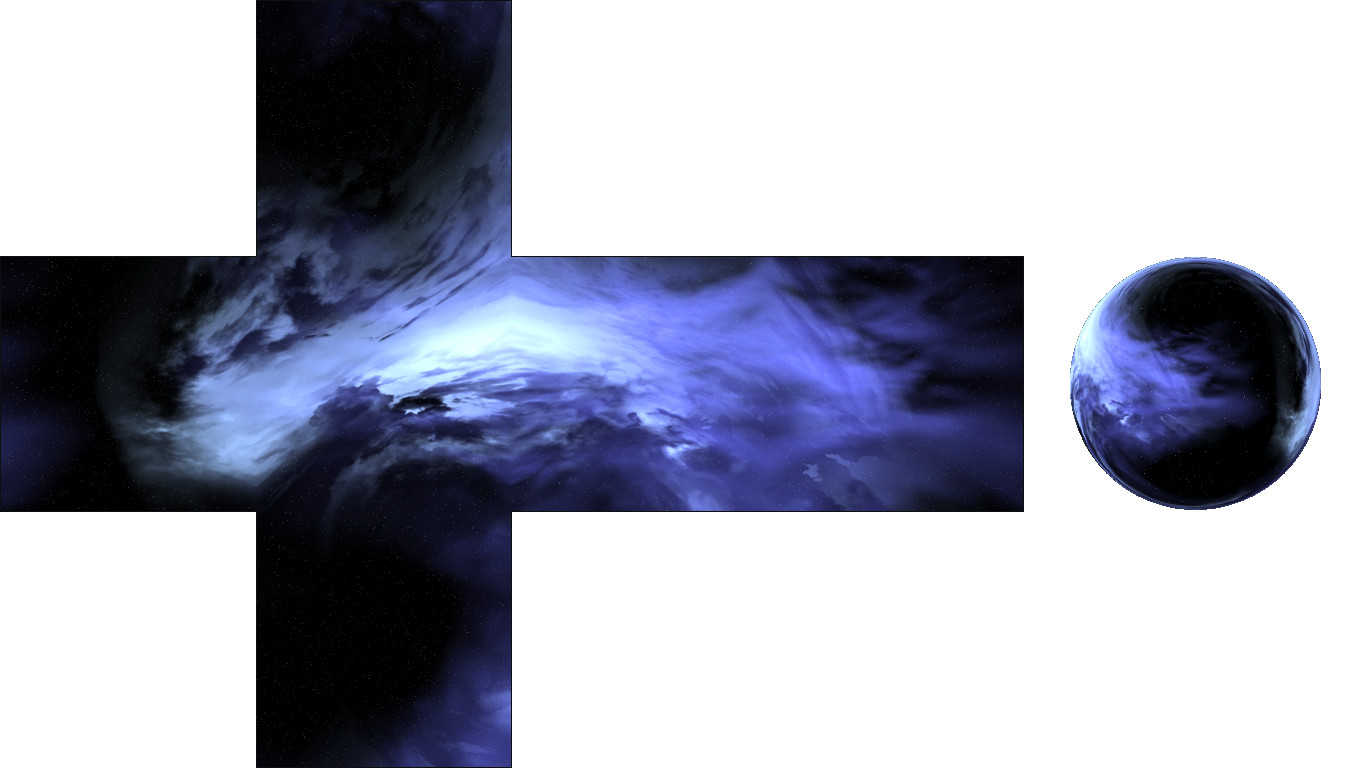
There are many approaches a 3D game can take to simulate the appearance of a sky. At the most basic level, games can give the sky a block colour and be done with it. On the far end of technical overindulgence, games can physically simulate clouds and other atmospheric details. But the approach that’s most widely used is the humble skybox, a method for mapping sky-like details onto a sphere, which is then rendered behind all other scene details. While there’s a handful of approaches under the umbrella of “skybox”, such as Unity’s built-in procedural skyboxes, the approach we will use is to construct a cubemap texture. A cubemap takes six square images, corresponding to the sides of a cube, and combine them into a single entity. We can sample the cubemap by providing a direction in 3D space - conceptually, it’s like morphing that textured cube into a sphere, then pointing from the centre towards a point on the sphere and picking the colour at that point.
Let’s look at this inside a shader. You’ll find this shader code inside Shaders/SpyroPortal/SpyroSkybox.shader. We’ve sampled a lot of textures inside shaders using the tex2D function and a UV coordinate, but how do we sample cubemaps? There is a built-in type called samplerCUBE and a corresponding function called texCUBE which are parallels of sampler2D and tex2D respectively - we will use those to sample a cubemap. First, we need to pass the cubemap texture to the shader in Properties.
Properties
{
    _Color ("Color", Color) = (1,1,1,1)
    _WorldCube ("World Cubemap", CUBE) = "" {}
}
Alongside a _Color parameter for tinting the portal, we’re including a _WorldCube parameter with the CUBE type - this is where we’ll pass in our cubemap texture. Inside the shader code, you’ll see the corresponding variable declarations.
uniform fixed4 _Color;
uniform samplerCUBE _WorldCube;
In order to simplify things, I’ve opted to use Unity’s surface shaders, which allow us to pass in the view direction we’ll use for sampling the cubemap easily. However, we don’t want to use lighting for the portal surface or the skybox, so we need to define a custom lighting function. The Input struct, characteristic of surface shaders, will contain only viewDir - the view direction - as a parameter. We’ve discussed surface shaders on this website before.
#pragma surface surf Unlit noforwardadd

struct Input
{
    float3 viewDir;
};
Here, we are saying that our surface function will be named surf, we’re using a lighting model called Unlit (which we will define in a moment), and noforwardadd means we don’t wish to add per-pixel lights. Now, let’s define the Unlit lighting model, which will preserve the albedo and alpha output by the surf function. It’s a complicated way of doing nothing. The format for a lighting model in a surface shader is a function named Lighting<NameOfLightingModel>, with a SurfaceOutput parameter containing data from the surface function, as well as lightDir and atten parameters containing lighting information (which we don’t care about here).
fixed4 LightingUnlit(SurfaceOutput s, fixed3 lightDir, fixed atten)
{
    fixed4 c;
    c.rgb = s.Albedo;
    c.a = s.Alpha;
    return c;
}
All we’re left with is the surface function, surf, where we’ll sample the cubemap and assign albedo and alpha values as outputs. We will sample the cubemap using the viewDir from the Input struct and the _WorldCube property.
void surf (Input IN, inout SurfaceOutput o)
{
    fixed4 col = texCUBE(_WorldCube, IN.viewDir) * _Color;
    o.Albedo = col.rgb;
    o.Alpha = col.a;
}
Let’s see what this looks like assigned to an object in Unity. First, we must create a cubemap - the option can be found under Create->Legacy->Cubemap - then all six source images should be assigned to the left, right, forward, back, top and bottom texture slots on that cubemap. Included in the GitHub repository for this series is an asset pack of space skyboxes, and I’ve assigned two of those to cubemaps named DSB and DSR, found in Materials/SpyroPortal. Then, we need to create materials using the Portals/SpyroSkybox shader and assign those cubemaps to the World Cubemap property slot - inside the same folder as the cubemaps are two materials called SpyroPortal and SpyroSkybox, corresponding to the DSR and DSB cubemaps respectively.
In the SpyroPortals scene, found at Scene/SpyroPortals.unity, you’ll find those materials attached to the portal and skybox already. The ‘skybox’ in this case is a huge sphere attached to the camera as a child object, and the portal surface is a flat plane in the centre of a portal frame model. Entering Play Mode and panning around the scene will let you see the innards of the portal in action - try looking into it at all sorts of angles!

Switching Skybox
The shader wasn’t too involved, but that’s half the story - we’ll also write a script to make sure the skybox and the portal texture swap places when the camera passes through the portal. In the scene, you’ll see a GameObject called SpyroPortal with a child object called PortalSurface - attached to that is a BoxCollider and a script called SpyroPortal.cs, found at Scripts/SpyroPortal/SpyroPortal.cs. Alongside that, attached to the SpyroCamera object is a script called, predictably, SpyroCamera.cs, stored in the same folder.
Let’s look at SpyroCamera.cs first. It exposes a singleton reference to the script and contains a SetSkybox method which we’ll use later when the player travels through the portal - in order to modify the skybox, it also holds a reference to the skybox renderer.
public class SpyroCamera : MonoBehaviour
{
    [SerializeField]
    private MeshRenderer skyboxRenderer;

    public static SpyroCamera instance
    {
        get; private set;
    }

    private void Awake()
    {
        instance = this;
    }

    public void SetSkybox(Material material)
    {
        skyboxRenderer.material = material;
    }
}
Next, we’ll look at the SpyroPortal.cs script. This script will check if the player crosses the portal threshold. In order to do this, it will keep track of any Rigidbody entering the BoxCollider mentioned earlier (which is marked as a trigger collider) and check if it is the player. If it is, then it will call the EnterPortal function when the player crosses over the boundary. At that point, it will swap the portal surface renderer’s material with the skybox material.
Let’s set up the member variables first. We’ll track the player object, the two portal materials and local variables to denote whether the player is inside the portal and what the position of the player was last frame. We’ll also keep hold of a local reference to the renderer component.
[SerializeField]
private Rigidbody player;

[SerializeField]
private Material[] portalMaterials = new Material[2];

private bool isInPortal = false;
private Vector3 lastPlayerPos;

private new MeshRenderer renderer;
We’ll start off caching the renderer component.
private void Awake()
{
    renderer = GetComponent<MeshRenderer>();
}
Then, we’ll take care of the OnTriggerEnter and OnTriggerExit functions to track whether the player is in range of the portal.
private void OnTriggerEnter(Collider other)
{
    // The player is inside the portal.
    if(other.tag == "Player")
    {
        isInPortal = true;
        lastPlayerPos = transform.InverseTransformPoint(player.position);
    }
}

private void OnTriggerExit(Collider other)
{
    // The player is not inside the portal.
    if(other.tag == "Player")
    {
        isInPortal = false;
    }
}
These functions are simple - set the isInPortal flag accordingly. Additionally, when the player enters the trigger, keep track of its position relative to the local transform - the “crossing point” of the portal is when the z-component of the position equals zero, so it’s easier to perform the check relative to the transform’s local space than world space. For that purpose, we use the InverseTransformPoint function, which transforms a point in world space to a Transform’s local space. It’ll be a bit easier to see how this works when we write the Update function. Speaking of which!
// If the player is in the portal, see if we've crossed the boundary.
private void Update()
{
    if(isInPortal)
    {
        Vector3 playerPos = transform.InverseTransformPoint(player.position);

        if (Mathf.Sign(playerPos.z) != Mathf.Sign(lastPlayerPos.z))
        {
            EnterPortal();
        }

        lastPlayerPos = playerPos;
    }
}
We calculate the player’s current position using that same InverseTransformPoint function. Now we can compare the sign of the current and last positions’ z-components - if they differ, that means we crossed the zero-point and the player crossed the portal threshold. This is why we’re using a BoxCollider to track the player’s proximity to the portal in the first place - to ensure the player doesn’t trigger the EnterPortal method by walking past the portal instead of through it.
// Swap the materials on the portal surface and skybox.
// Then swap array entries ready for next time.
private void EnterPortal()
{
    var oldMaterial = portalMaterials[0];
    var newMaterial = portalMaterials[1];

    renderer.material = newMaterial;
    SpyroCamera.instance.SetSkybox(oldMaterial);

    portalMaterials[0] = newMaterial;
    portalMaterials[1] = oldMaterial;
}
All that’s left to do is to swap the two materials once we’ve walked through the portal. For that, we’re using the static singleton instance on SpyroCamera we defined before, although there are more elegant ways to do this outside of a tech demo scenario.
Conclusion
The portals in Spyro are purely aesthetic and serve as a good starting point for thinking about portals in games. The portal effect can be achieved by using a cubemap texture, a technology used to capture a 360-degree view of a scene, attached to the portal surface. It is then swapped when the player travels through the portal.
In the next tutorial, we’re going to move on to portals that capture the appearance of real-world geometry “inside” the portal, focusing purely on non-recursive portals (i.e. portals where you won’t see a portal inside a portal).
Acknowledgements
Assets
This tutorial series uses the following asset packs from various sources:
| “Skybox Volume 2 (Nebula)” | Hedgehog Team |
| “Robot Sphere” | Razgrizzz Demon |
| “Low Poly Hand Painted Dungeon Arch” | BitGem |