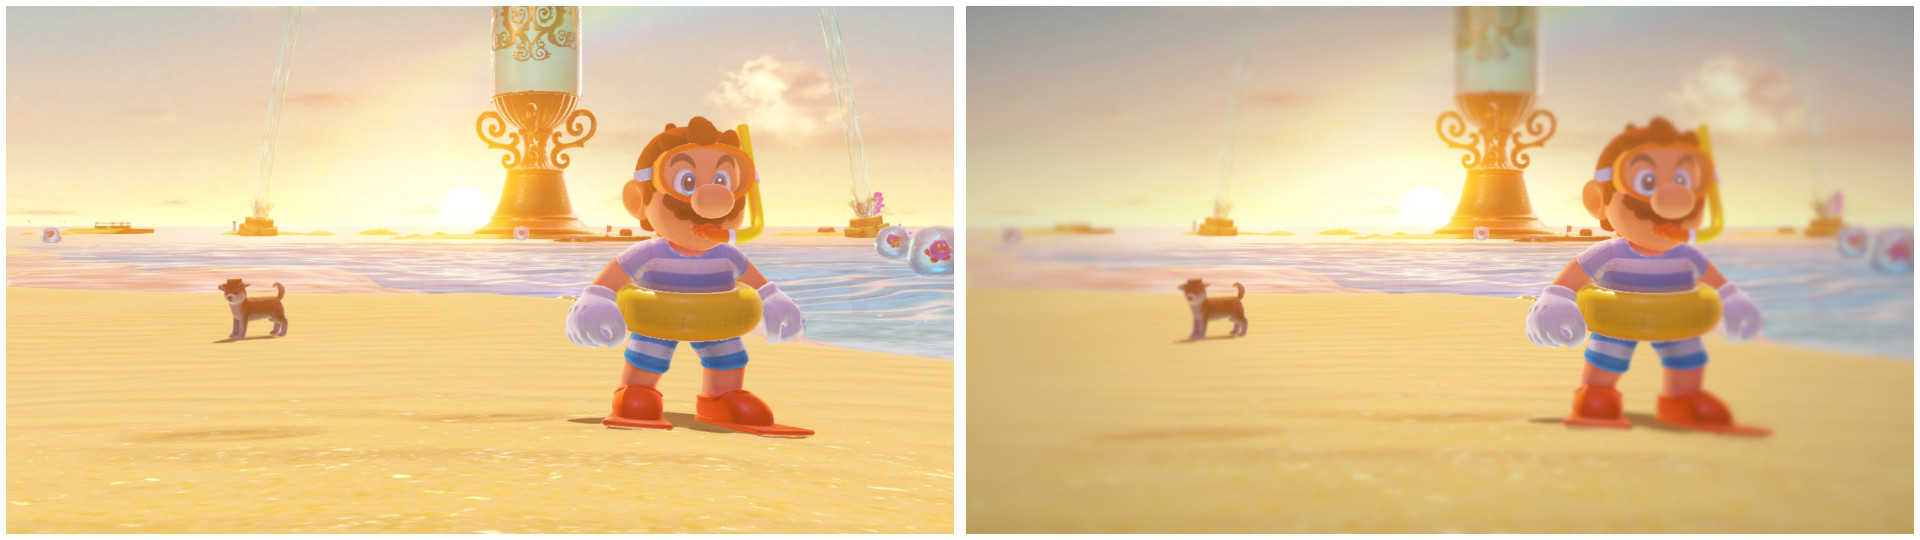
There are several kinds of blurring algorithm, some more efficient than others. Super Mario Odyssey blurs the image corners, so that the focal point of the camera remains sharp. This tutorial introduces some blurring algorithms, which involve considering multiple pixels at the same time.
Box Blur
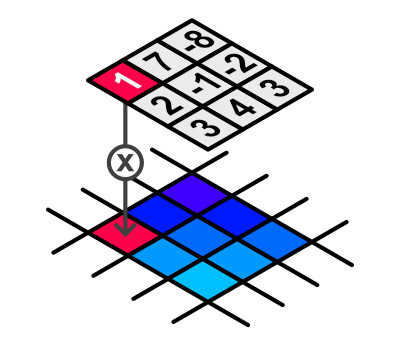
Let’s introduce the idea of a kernel function. Imagine a square matrix of numbers with odd dimensions - so 1x1, 3x3, 5x5 and so on; this is called a kernel. When we ‘apply’ a kernel to an image (the technical term is “convolution”), we place that kernel pixel-wise over the image, so that each matrix value lies over an individual pixel. Then, we multiply each kernel value by the colour inside the corresponding pixel. Those values are added together, and we divide the total by the sum of the numbers inside the original kernel matrix; this total is a kind of weighted average, which becomes the output value for the central pixel that we just operated on. For the sake of simplicity, since we’re working with RGB colour data, we calculate the red, green and blue colour channels individually during the convolution process.
For a box blur, we do the process detailed above with a kernel full of ones. In other words, it’s an unweighted average. For each pixel of the image, the output colour is the equally weighted average of the NxN pixels surrounding it - the amount of blurring in the image is influenced only by the value of N. You can imagine where the name “box blur” comes from!
\[B_3 = \begin{bmatrix} 1 & 1 & 1 \\ 1 & 1 & 1 \\ 1 & 1 & 1 \end{bmatrix}\]That’s the conceptual idea behind a box blur kernel, but we can make an optimisation; the box blur is linearly separable. If we run a one-dimensional blur in the x-direction across the image, and then run another one-dimensional blur across the image in the y-direction, we’ll get the same result as if we had convolved the kernel matrix across the image - we turn (NxN) computations into (2N) computations. With this optimisation, we will have to perform two shader passes; I’ll outline how to write both versions of the shader.
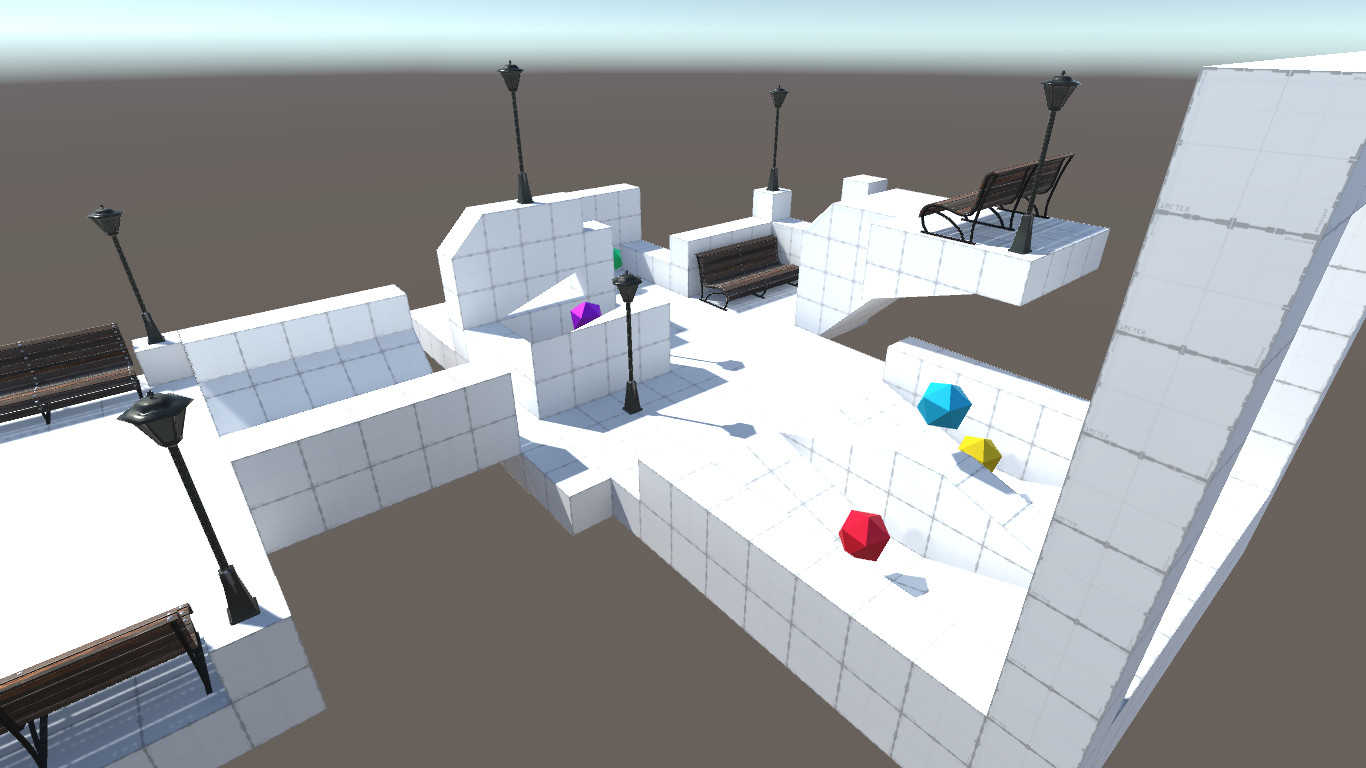
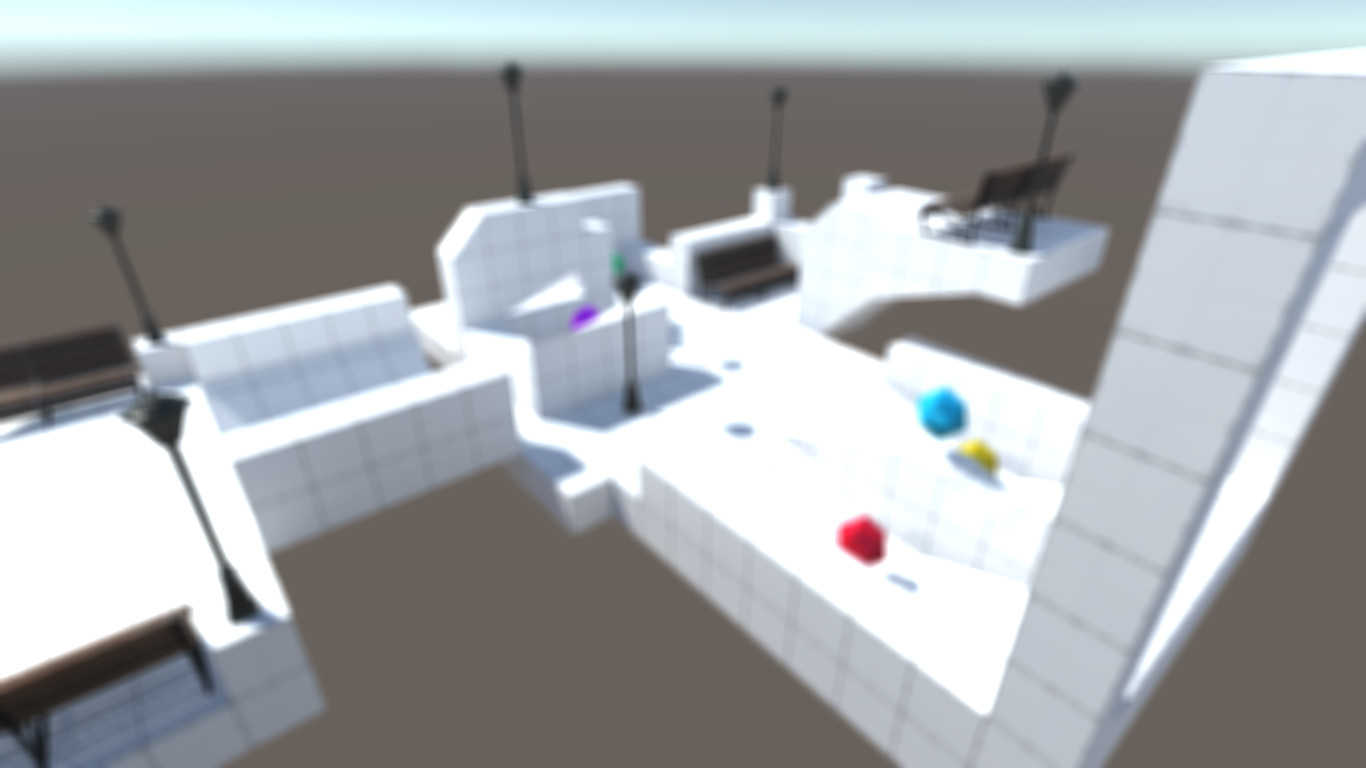
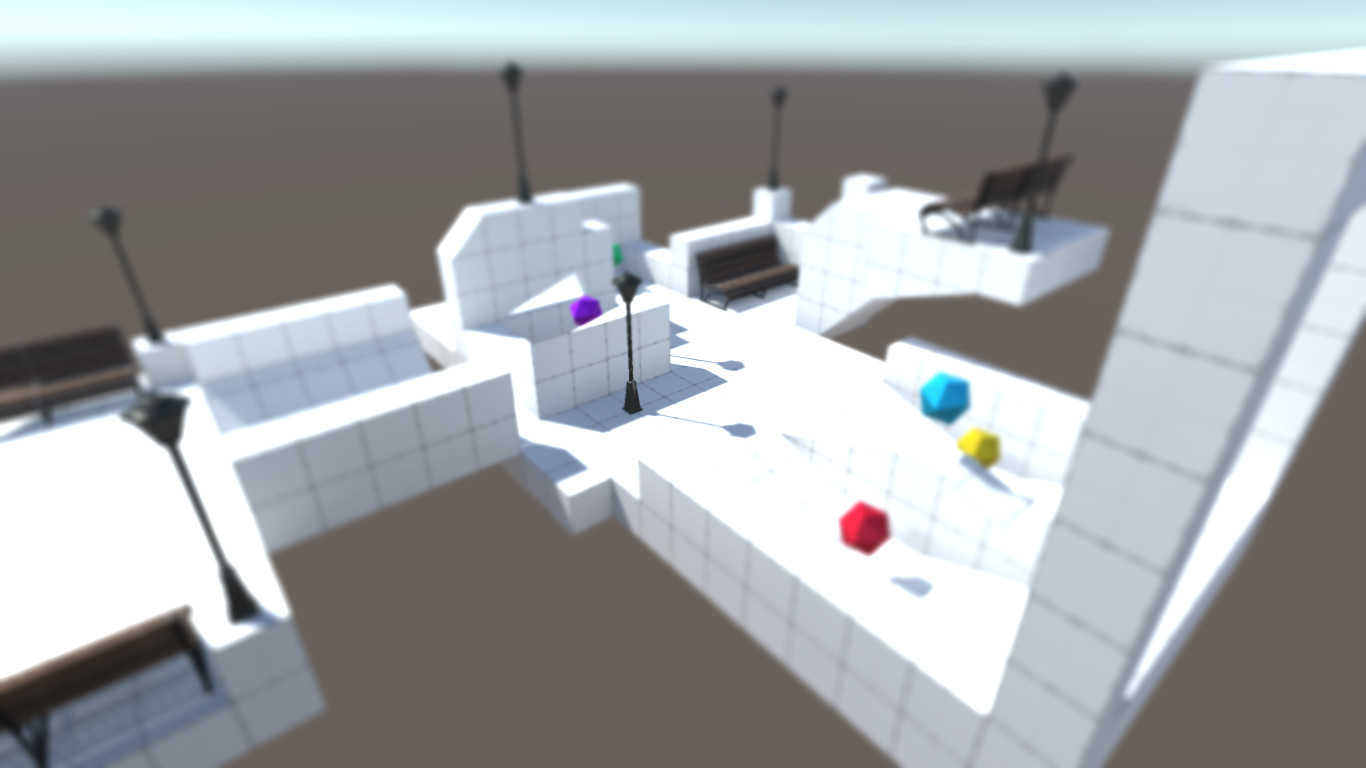
\[B_{3_x} = \begin{bmatrix} 1 & 1 & 1 \end{bmatrix} \hspace{25pt} B_{3_y} = \begin{bmatrix} 1 \\ 1 \\ 1 \end{bmatrix}\]Let’s also remind ourselves what the scene looks like with no blurring applied.
Multi-pass
Let’s look at a shader that implements a two-pass box blur first. I’ve provided a template shader as before - Shaders/BoxBlurMultipass.shader. There are a few things new things to go over.
// Inside Properties.
_KernelSize("Kernel Size (N)", Int) = 3

// Inside CGINCLUDE.
float2 _MainTex_TexelSize;
int _KernelSize;
A new property is defined to control the size of the kernel matrix. We must introduce this variable somewhere in the shader too, so it’s included inside a CGINCLUDE ... ENDCG block. You’ll notice that’s a bit different to the CGPROGRAM blocks we’ve been using so far - the code inside that block will be copied into the top of all the CGPROGRAM sections behind the scenes, letting us define our variables only once and keeping our code tidy.
The other new thing is the _MainTex_TexelSize variable. “Texel” is short for “texture element”, and in this content refers to the pixel resolution of the _MainTex texture; more accurately, _MainTex_TexelSize is a 2-element float vector which holds the size of one pixel in uv-space. In other words, _MainTex_TexelSize.x is equal to 1 / [width of _MainTex in pixels]. _MainTex_TexelSize.y is similarly defined.
The two shader passes are defined later - their fragment shaders are defined separately because they will differ slightly. The basic outline for both shaders is to loop over several pixels and sum their colour values into an accumulator variable. Once all pixels have been iterated over, their sum is divided by the number of pixels to leave us with the final colour value for this pixel. Let’s start with that sum variable for the first pass - delete the template code and insert this instead:
// Horizontal blurring pass.
fixed4 frag_horizontal(v2f_img i) : SV_Target
{
    fixed3 sum = fixed3(0.0, 0.0, 0.0);

    // Implement blur here...

    return fixed4(sum, 1.0);
}
Since this is an image effect shader, we can set the fourth colour value - the alpha/transparency channel - to 1.0, although in practice this value is just ignored. sum is our accumulator value. The next step is to work out the bounds of the blurring step. We’ve defined _KernelSize to denote the number of pixels wide the kernel is - the value of N - so we can use that to calculate the pixel offset of the pixels furthest left and furthest right from this one. We’ll splice the rest of the code in place of the template comment:
int upper = ((_KernelSize - 1) / 2);
int lower = -upper;
The way I’ve written this shader, the kernel will always end up with an odd number for N, even if you define _KernelSize as an even number. These two variables give us bounds for the loop we’re about to write.
for (int x = lower; x <= upper; ++x)
{
	sum += tex2D(_MainTex, i.uv + fixed2(_MainTex_TexelSize.x * x, 0.0));
}
This is the first time we’ve looked at for-loops in GLSL, but they work the same as in C or C#. Each step, we’ll sample _MainTex at this pixel’s uv coordinate, plus some offset. Remember how we defined _MainTex_TexelSize as the size of a pixel in uv-space? Well, here we’re using that to step along the image one pixel at a time. Once the loop has finished executing and our final sum value is known, we’ll divide by _KernelSize to get our average.
sum /= _KernelSize;
Now it’s time to write the second pass. The inner code of the fragment shader is almost identical to that of the first pass, so go ahead and copy that over and modify the summation loop like so:
for (int y = lower; y <= upper; ++y)
{
    sum += tex2D(_MainTex, i.uv + fixed2(0.0, _MainTex_TexelSize.y * y));
}
Now our shader is complete! If you attach this to the main camera and run the code, you’ll notice it blurs our image - but not quite how we’d like. Turn up the kernel size a little, and you’ll see the shader is only blurring the image in the vertical direction - is the shader broken? Nope!
Controlling shaders from the outside
What’s happening here is that both passes are being run in order, but the result of the first pass isn’t overwriting _MainTex, so when the second pass samples that texture, it’s not taking the first blur into account. We need a way to preserve the first pass values and save them inside _MainTex. For this, we’re going to leave our shader alone and do some C# scripting to fix the issue. Look at ImageEffectGaussian.cs inside the Scripts folder.
public class ImageEffectGaussian : ImageEffectBase
{
	protected override void OnRenderImage(RenderTexture src, RenderTexture dst)
	{
		// Create a temporary RenderTexture to hold the first pass.
		RenderTexture tmp =
			RenderTexture.GetTemporary(src.width, src.height, 0, src.format);

		// Perform both passes in order.
		Graphics.Blit(src, tmp, material, 0);   // First pass.
		Graphics.Blit(tmp, dst, material, 1);   // Second pass.

		RenderTexture.ReleaseTemporary(tmp);
	}
}
It’s a relatively short script, but let’s detail what it’s doing. We’re inheriting from the original ImageEffectBase script we discussed a while back and overriding OnRenderImage(). Remember that this function is passed two RenderTexture objects to denote the image rendered by the camera - src - and the image output to the screen after our post-processing has completed - dst; we define a third RenderTexture called tmp to hold the intermediate value after the first pass. Graphics.Blit() can take an optional fourth parameter, denoting the index of the pass we wish to use. The first pass - index 0 - put its output into tmp, and we then use that as the input to the second pass - index 1 - which in turn puts its output into dst. For the sake of keeping things neat, I also make sure to dispose of the temporary RenderTexture at the end.
Remove the existing ImageEffectBase component from the main camera and attach the new ImageEffectGaussian script instead, then assign the box blur shader into the shader slot. The effect should now work as intended.
Single-pass
For the sake of completeness, we’ll write a version of this shader that does not require two passes. Open the BoxBlurSinglepass template; you’ll see the second pass is gone, and I’ve moved the variable definitions into the pass for clarity. We’ll do something similar as above, but have a nested loop in place of the singular loop from before:
fixed3 sum = fixed3(0.0, 0.0, 0.0);

int upper = ((_KernelSize - 1) / 2);
int lower = -upper;

for (int x = lower; x <= upper; ++x)
{
    for (int y = lower; y <= upper; ++y)
    {
        fixed2 offset = fixed2(_MainTex_TexelSize.x * x, _MainTex_TexelSize.y * y);
		sum += tex2D(_MainTex, i.uv + offset);
    }
}

sum /= (_KernelSize * _KernelSize);
return fixed4(sum, 1.0);
That’s all there really is to it. You’ll notice the division step to obtain the average now uses the square of the kernel size, since we’re operating on more pixels at a time.
Outside Values
How does the blur work on the edges of the image? After all, there’s no pixels outside the image to take averages from. This is where a setting called the ‘wrap mode’ of the texture comes into effect; the default behaviour is that the non-existent pixels outside the [0, 1] uv range are copies of the pixel on the edge of the texture - so, if the edge pixel is red, all ‘phantom’ pixels extending beyond the texture will also be red. This wrap mode is called ‘Clamp’ in Unity - there are other settings such as ‘Repeat’ and ‘Mirror’, which tile the texture beyond its bounds in different ways. We could experiment and change the wrap mode of our source texture in ImageEffectBase.cs or ImageEffectGaussian.cs before the Graphics.Blit() calls:
src.wrapMode = TextureWrapMode.Repeat;
In this case, depending on the positioning of the camera, you’ll notice that colours from one edge of the screen can ‘bleed’ over to the other edge. It’s best for our purposes to keep the wrap mode to the default “Clamp” mode, but you might come across an effect that you’d like to try a different mode on.
Gaussian Blur
A box blur does the job of blurring the image, but it performs terribly on object corners - there are other blurring algorithms that give finer results. A slightly more complicated algorithm is the Gaussian blur algorithm. It’s like a box blur in that it entails convolving another square matrix with an image, but this time we’ll calculate kernel values such that the central pixel is more heavily weighted than the surrounding pixels. The resulting blurred image will look much better on sharp corners than box blur does.
For you stats nerds out there, this is all going to be painfully familiar - the normalised Gaussian curve is symmetric, with a mean, \( \mu\), of zero. It’s also known as the Normal distribution. It’s commonly used in statistics to model random variables.
\[ G(x) = \frac{1}{\sigma \sqrt{2\pi}} e ^ {-\frac{(x-\mu)^2}{2 \sigma^2}} \] \[ where \space \mu = 0 \]
The relevant property of the function for us is that we can tweak how tall and wide the distribution is by modifying a single parameter - the standard deviation, \( \sigma \). Now imagine a Gaussian curve that extends across both the x- and y-axes, like a Mexican hat - place it over the image with the peak of the curve over the top of some pixel. We’re going to sum over the pixels around that central one, using the height of the curve at each pixel position as a weight. Does that remind you somewhat of how we placed the kernel function over an image for box blur?

We can implement a Gaussian blur by populating a kernel with the height values of a 2D Gaussian function, where, conceptually, the curve protrudes from the screen with the z-axis running through the centre pixel. Consider another property of the Gaussian curve: it never touches the x- or y-axes, so the ‘tails’ of the function extend infinitely. Since it’s infeasible to run the convolution step using the entire image for every single pixel, we’ll provide some bounding window to cut off those tails and only use part of the Gaussian curve. Luckily, we can just use an NxN kernel, as before. In this way, the amount of blurring is controlled by two parameters this time - N and \( \sigma \). Remember the final step of dividing by the sum of the kernel values, otherwise the image will become darker - the values will sum to slightly less than 1.
We shall again look at this blurring algorithm in multi-pass and single-pass settings.
Multi-pass
We’ll be using BoxBlurMultipass.shader as a base for this template, found in Shaders/GaussianBlurMultipass.shader. You’ll notice that a new parameter, _Spread, has been introduced:
_Spread("St. dev. (sigma)", Float) = 5.0
...
float _Spread;
I’ve used the word “spread” in place of “standard deviation” - it’s just a shorter, snappier term for the same thing. There’s a few other new goodies inside the CGINCLUDE block, too:
// Define the constants used in Gaussian calculation.
static const float TWO_PI = 6.28319;
static const float E = 2.71828;
...
// One-dimensional Gaussian curve function.
float gaussian(int x)
{
    return 1.0;
}
Here’s a template for our Gaussian function calculation; obviously returning 1.0 is a dummy value for now, but we’ll return to this in a little bit. The constants we’ve defined here will be used in that calculation - TWO_PI is, of course, pi times two, and E is Euler’s number, the exponential constant. The convention for constants is to use all-caps for their names.
I’ve copied the completed box blur fragment shaders wholesale, and we’re going to do some modifications. Last time we took it for granted that one iteration added exactly 1 to the kernel value sum, but this time we’ll be using Gaussian values so we can’t make that assumption. We’ll introduce a new kernelSum counter in both passes to add up the values inside the kernel, right underneath the col counter, and start using the Gaussian function in our loop. Then, we’ll modify the averaging step - instead of using _KernelSize, we shall now use the kernelSum counter we just implemented. Remember to roll these changes into both passes!
// Under col definition.
float kernelSum = 0.0;

// First pass loop.
for (int x = lower; x <= upper; ++x)
{
    float gauss = gaussian(x);
    kernelSum += gauss;
    col += gauss * tex2D(_MainTex, i.uv + fixed2(_MainTex_TexelSize.x * x, 0.0));
}

// Second pass loop.
for (int y = lower; y <= upper; ++y)
{
    float gauss = gaussian(y);
    kernelSum += gauss;
    col += gauss * tex2D(_MainTex, i.uv + fixed2(0.0, _MainTex_TexelSize.y * y));
}

// After loop.
col /= kernelSum;
Run the shader now, and it should be exactly the same as the box blur shader - that’s because our dummy gaussian() function outputs 1.0, so we’re effectively doing nothing new. The final change we need to make is to calculate the Gaussian values using the formula we introduced at the start of this section. The input to the gaussian() function is just a single integer, denoting the offset from the central pixel.
// One-dimensional Gaussian curve function.
float gaussian(int x)
{
    float sigmaSqu = _Spread * _Spread;
    return (1 / sqrt(TWO_PI * sigmaSqu)) * pow(E, -(x * x) / (2 * sigmaSqu));
}
Remember how the box blur passed were linearly separable, and that a 2D blur in the x- and y-directions is the same as a 1D blur in the x-direction followed by another 1D blur in the y-direction on its result? The same applies with Gaussian blur, so we only need to implement a 1D Gaussian function.
And with that, we’re done with the Gaussian Blur shader - run your scene now with this shader attached to your script - make sure you’ve attached ImageEffectGaussian - and your beautiful blur should be working! Gaussian blur tends to give much better results on sharp object corners at the expense of a bit more computation, but the results do speak for themselves.

Single-pass
For a single-pass Gaussian blur, we’ll have to tweak the 1D gaussian() function we just wrote and make it two-dimensional, like so:
\[ G(x, y) = \frac{1}{2 \pi \sigma^2} e ^ {-\frac{x^2 + y^2}{2 \sigma^2}} \]
It’s just the product of the x-direction Gaussian with the y-direction Gaussian, but representing the function like this makes it clearer what’s going on and forms the basis of what our new code will look like.
// Two-dimensional Gaussian curve function.
float gaussian(int x, int y)
{
    float sigmaSqu = _Spread * _Spread;
    return (1 / sqrt(TWO_PI * sigmaSqu)) * pow(E, -((x * x) + (y * y)) / (2 * sigmaSqu));
}
As with the box blur single-pass version, we will get rid of the second pass and introduce a nested loop.
for (int x = lower; x <= upper; ++x)
{
    for (int y = lower; y <= upper; ++y)
    {
        float gauss = gaussian(x, y);
        kernelSum += gauss;

        fixed2 offset = fixed2(_MainTex_TexelSize.x * x, _MainTex_TexelSize.y * y);
        col += gauss * tex2D(_MainTex, i.uv + offset);
    }
}
Since we did a lot of the heavy lifting while writing the multi-pass variant, that’s all that needs doing. All being well, if you run this single-pass shader using the ImageEffectBase component, the result should be the same as the multi-pass version.
Pulling It Together
If our aim was to emulate the Blur effect in Super Mario Odyssey exactly, we have one more step to do: make the blur stronger at the image edges. It’s easier than you might think - we can just use the distance from the centre of the image in terms of uv coordinates as a modifier for our standard deviation.
The template for this - Shaders/EdgeBlur.shader - uses the multi-pass Gaussian function as a base, but I trust by this stage you’ll be able to modify any of the shaders we’ve written so far on your own. We will first need to modify the Gaussian function to take a value for \( \sigma \) as an input.
// One-dimensional Gaussian curve function.
float gaussian(int x, float sigma)
{
    float sigmaSqu = sigma * sigma;
    return (1 / sqrt(TWO_PI * sigmaSqu)) * pow(E, -(x * x) / (2 * sigmaSqu));
}
We’ve added a new getSigma() function that will calculate some distance metric from the image centre. We utilise the function inside the fragment shader, in the loop:
float sigma = getSigma(i.uv) * _Spread;
float gauss = gaussian(x, sigma);
Now all that’s left is to write the new getSigma() function. We’ll want to use Pythagoras’ Theorem to calculate the distance from the centre of the image, but I’ve also added extra calculations using pow to exaggerate the blurring on the edges and leave the central section as-is.
// Helper function to calculate distance from the centre.
float getSigma(float2 uv)
{
    float distance = sqrt(pow(abs(uv.x - 0.5) * 2, 2) + pow(abs(uv.y - 0.5) * 2, 2));
    return min(distance * 1.25, 1.0);
}
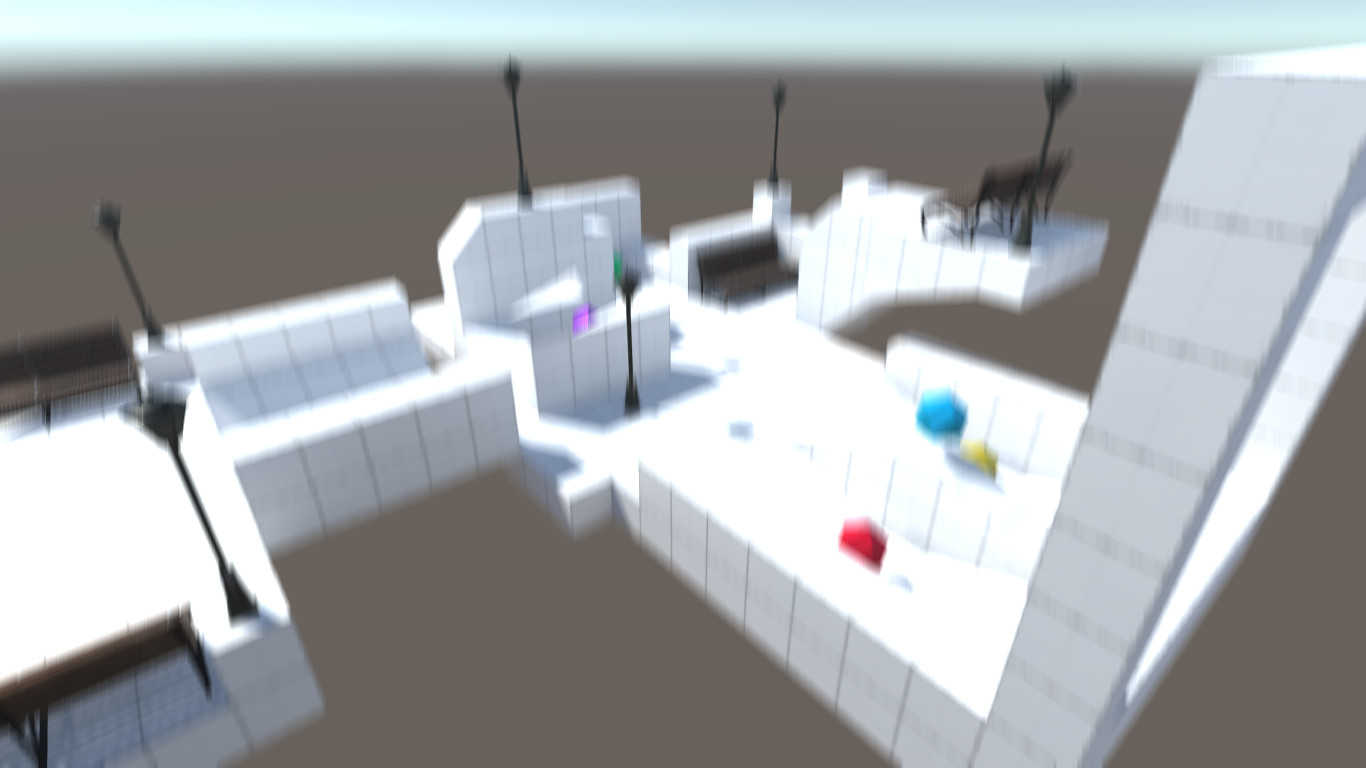
Run the shader now - et voila! Our blur effect starts strong at the edges and falls off the closer to the middle of the screen you get - just like the effect in Super Mario Odyssey.
Conclusion
You now have a little more shader know-how under your belt - you can use multiple pixel values simultaneously, and you know more about the theoretical basis of kernel functions. In the next tutorial, we’ll be looking at edge-detection algorithms using other kinds of filters.