Kaleidoscopes work by reflecting light in at least two angled mirrors to form symmetrical patterns. When looking through a kaleidoscope, it is often possible to rotate the portion containing the mirrors so that the image and its reflections shift. In today’s short article, we’ll create a shader that mimics the behaviour of a kaleidoscope by making use of polar coordinates.
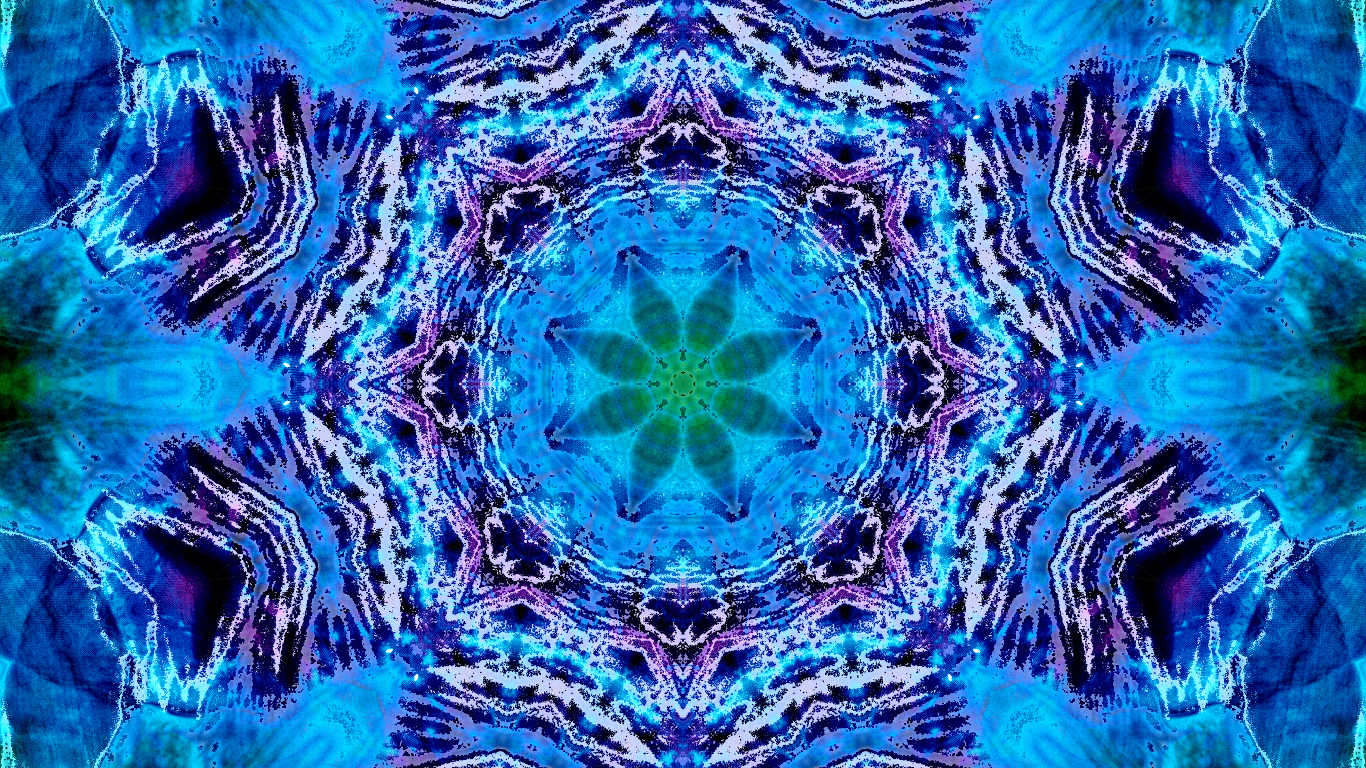
Image by Lisa Yount from Skitterphoto
Polar coordinates
In geometry, there are many ways to represent coordinates. You’re likely most familiar with the Cartesian coordinate system, where points are defined relative to two or more perpendicular axes which meet at an origin point. An alternative two-dimensional system, called polar coordinates, instead represents points by a distance, r, from the origin point and an angle, \(\phi\) from a reference direction. The point (1, 1) in the Cartesian system can be represented as \(r = \sqrt{2}\) and \(\phi = 45^\circ\) in the polar coordinate system. Why is this helpful for us?
A kaleidoscope reflects images across one or two mirrors. Because of the angles of each mirror, the images self-reflect, resulting in radial symmetry. By converting an image represented by a traditional Cartesian coordinate system into polar coordinates, it becomes much easier to pick out a radial image segment and reflect it across the virtual mirrors.
Let’s jump into the shader, found at Resources/Shaders/Kaleidoscope.shader. We’ll only need to pass in one additional variable to our shader to denote the number of reflections we want - I’ve called it _SegmentCount. Each segment in this context will contain a single reflection - so we’ll end up with two times _SegmentCount image fragments.
float _SegmentCount;
The first step in the fragment shader is to convert the image to polar coordinates. In order to do that, we’ll shift the UVs of the image so the ‘origin point’ is in the centre rather than the corner - all UVs will be between -0.5 and 0.5 instead of between 0 and 1. Then, we’ll use Pythagoras’ Theorem to determine the distance of the pixel from the origin, r, and simple trigonometry to determine the angle, \(\phi\). They’re stored in the variables radius and angle respectively.
// Convert to polar coordinates.
float2 shiftUV = i.uv - 0.5;
float radius = sqrt(dot(shiftUV, shiftUV));
float angle = atan2(shiftUV.y, shiftUV.x);
We also need to know the angle taken up by a single segment. We’re going to use this to determine which segment the current pixel is in, then ‘reflect’ the pixel position across the segment boundaries until we are in the ‘first’ segment. Let’s go step by step:
// Calculate segment angle amount.
float segmentAngle = UNITY_TWO_PI / _SegmentCount;
We’re working in radians rather than degrees, so there are \(2\pi\) radians in a full circle. Unity provides the built-in variable UNITY_TWO_PI for us, so all we must do is divide that by _SegmentCount to get the segmentAngle.
// Calculate which segment this angle is in.
angle -= segmentAngle * floor(angle / segmentAngle);
Next, we take the pixel’s angle and subtract segmentAngle until we are inside the ‘first segment’. It’s essentially a modulus operation.
// Each segment contains one reflection.
angle = min(angle, segmentAngle - angle);
Now that we know our position relative to a single segment, let’s talk about what one image segment looks like. The full image will look like a single segment copy-pasted in a circle, where each segment is a wedge shape. If we converted back to Cartesian coordinates now, then the kaleidoscope won’t look right - there won’t be any reflection. Therefore, each segment must reflect itself through the middle. Using the min function, we’ll keep the angle unchanged if it is less than halfway through a segment, otherwise we’ll mirror it across the centre of the segment by subtracting it from segmentAngle.
Now we can convert back to Cartesian coordinates. We haven’t sampled the image yet - to do that, we’ll need our UVs back in the classic Cartesian format. We’ll do the inverse of all the transformations we made previously - we’ll use cos and sin on the angle to get back the x and y components of the float2 respectively, multiply by the radius to place them at the correct position, and add 0.5 to put the origin point back where it belongs.
// Convert back to UV coordinates.
float2 uv = float2(cos(angle), sin(angle)) * radius + 0.5f;
There’s one remaining problem - because of the way we performed the rotational symmetry, some pixels will now be sampling outside the original image. These pixels are at the edges of the image, and we need to shift them back; while we do so, we’ll make these edge sections reflect the inner sections of the image.
// Reflect outside the inner circle boundary.
uv = max(min(uv, 2.0 - uv), -uv);
Now we have out final UV coordinates, we’ll sample the texture and call it a day.
return tex2D(_MainTex, uv);
We’ll look at the script used to control this effect briefly, as it only needs to pass a single variable representing the variable count to the shader.
[SerializeField]
private int segments = 4;

// Find the Kaleidoscope shader source.
public override void OnCreate()
{
    baseMaterial = new Material(Resources.Load<Shader>("Shaders/Kaleidoscope"));
    baseMaterial.SetFloat("_SegmentCount", segments);
}

public override void Render(RenderTexture src, RenderTexture dst)
{
    Graphics.Blit(src, dst, baseMaterial);
}
Now we can see what the effect looks like. If you plug in Effects/Kaleidoscope and fiddle around with the number of segments, you can create all kinds of effects, like a six-segment star:

Or with three segments, you can sort of create an abstract Unity logo:

Conclusion
Kaleidoscopes are often used as a novelty toy, but they can be used to create striking effects. We can use polar coordinates to deal with the radial symmetries that kaleidoscopes rely on far easier than we can with traditional coordinate systems.
In the next article, we’ll make an exciting leap and explore how Lucas Pope created the unique dithering aesthetic for Return of the Obra Dinn.
Acknowledgements
Assets
This tutorial series uses the following asset packs:
| Forest - Low Poly Toon Battle Arena / Tower Defense Pack | AurynSky |